As of version 10.42, .xpr files can be signed during preview.
This signature can be used to sign documents with the mouse or on touch screens.
How to do:
1.Define a sensitive object:
Exemple:
<#1><R+6><C+30><SENSITIVE#1,TYPE=IMAGE,ACTION=SIGN,HINT=Signature,IMAGE=c:\temp\Conditions.png>
This defines a sensitive area containing an image that opens the signature window when clicked:
The image shown here "conditions.png" is the file that contains (or will contain) the signature or a logo to be completed and/or modified by the user.
![]() The specified image file will be modified by the signing operation.
The specified image file will be modified by the signing operation.
Always use a copy of your logos and not the original files
![]() IMAGE file:
IMAGE file:
•is a bidirectional file, it will contain the result of the signature after OK is clicked,
•If no file is specified, vpxPrint creates a temporary file, valid only for the duration of the session,
•The allowed file types are .jpg, .png and .bmp
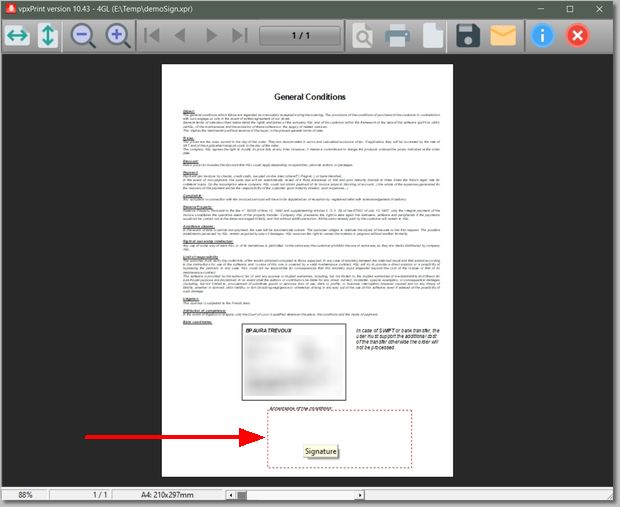
2.When this object is clicked:
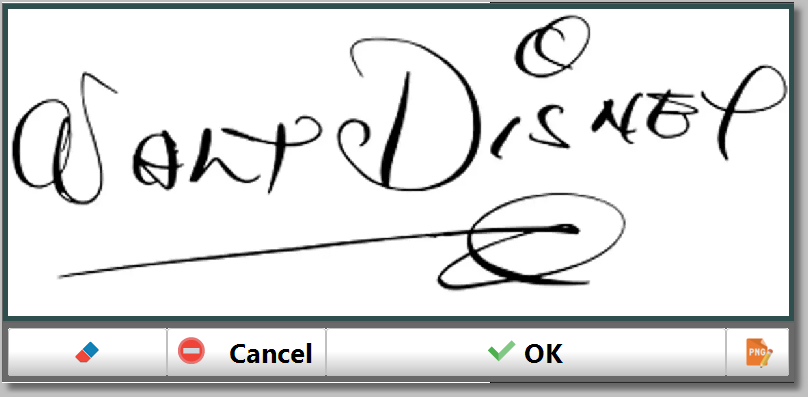
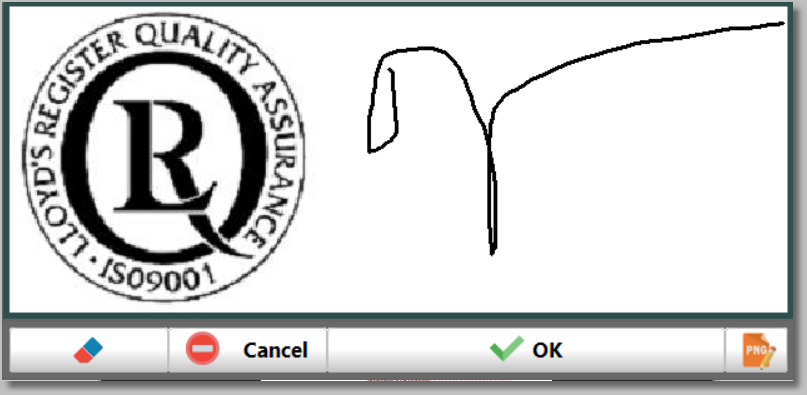
The signature window opens:
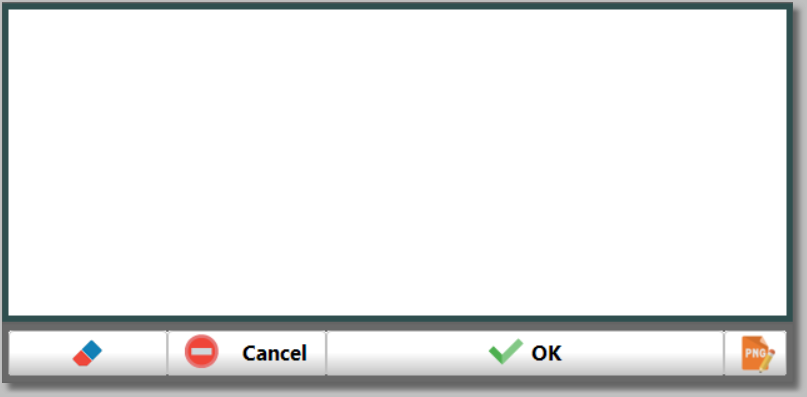
It allows:
•to sign directly on the signature area (mouse or touchscreen),
•to load a file and then complete it with a signature, if needed ![]()
•to erase the content ![]()
Exemples:

3.The result:
The signature is exported in printouts and PDF files.
4.Additional parameters:
The ACTION parameter of the SENSITIVE tag can indicate adjustments to the signature window.
Each argument is delimited by a / character:
oFULL designates a full screen width window,
oWxxx indicates the width in pixels of the window. W600 indicates a window of 600 pixels wide,
oNO specifies that the load button should not be displayed.
Examples:
oACTION=SIGN/W600/NO
oACTION=SIGN/FULL